Last week’s PSLS Help Desk talked about getting music on your PS4 with PlayStation’s Spotify partnership. We detailed some pretty cool features about the service that easily make the PS4 a centerpiece for streaming music in your home. This week we’re going to go over another feature that should be well known, but is oft overlooked by many gamers as an option hidden in the settings. Diving into the Accessibility menu, we’re talking button remapping on your DualShock 4.
Why remap your buttons? You might think it’s a silly feature but there are two big reasons I can think of. The first is accessibility for everyone to enjoy games. Some people may have physical handicaps that render traditional control schemes difficult or impossible to use, and if the game doesn’t allow any kind of remapping from within the software, these people are out of luck. Remapping buttons allows them to find a control scheme that works for them, regardless of any limitations that might otherwise hinder their ability to play. The other reason is personal preference as different games may have differing control setups. While I personally adhere to most default control schemes, many people like to have their gameplay set to particular settings, like always have the square button be reload. Again, if the game doesn’t allow this on a software level, Sony has made it possible with the hardware.
How to Remap Your DualShock 4 Buttons
On your PS4 home menu, go to [Settings] > [Accessibility] > [Button Assignments]. You will need to check the box that says [Enable Custom Button Assignments]. This will make an option appear just beneath it labeled [Customize Button Assignments]. Click on this to enter the customization menu. From here, you can remap any of the DualShock 4’s buttons besides Share, Options, and the Touchpad. Simply click on the button on the screen that you would like to remap, and then select the button to remap it to from the scrolling list that appears. Repeat for all buttons that you would like to change.
Things to Note
- Remapping is done at a hardware level, so button prompts in games will not change to adjust for modified settings. For example, if you’ve changed your X button to R1, the screen will still show”Press X to continue.” You will need to remember that your X button is now R1 (or whatever other button assignments you make).
- Remapping can be done for things as simple as swapping analog sticks or switching which trigger is used to shoot. If the game doesn’t have these options built in, remember that the PS4 will allow you to make these simple changes to make for more comfortable gameplay if you are unable to adapt to a developer’s certain controls.
- Mapping at the hardware level means that the custom button mapping will be in effect for all games. There is no way to set up custom map profiles for separate games, and you will need to change the mapping for each game if the settings for one don’t fit the needs of another.
Quick Menu
Accessibility has the option to be added to the quick menu, for easy access at any time. This means that remapping buttons on the fly can be accomplished more easily than ever if a handicap requires altering some games’ inputs, or if you’re just the type that likes to have full modular control over each of the games you play.
- To add this to the quick menu, go to [Settings] > [Accessibility], scroll to the bottom, and checkmark the box labeled [Add to Quick Menu]. You will now be able to quickly access these options from the quick menu during a game by holding down the PS Button on your controller.
Whether necessitated by physical handicaps, or just by the neurotic need to alter default control schemes, Sony has made it pretty simple to swap entire controller layouts with custom button mapping on the DualShock 4. Do you use custom remapping for any games?
Essential Reading:
- PSLS Help Desk – Spotify Music, PS4, and You
- Top 5 No Man’s Sky New Features in the Foundation Update
- PS4 Pro Hardware Review – Progressive Promise
10 Reasons for PS4 Owners to be Thankful
-
Reasons for PS4 Gamers to be Thankful

-
SharePlay
Be thankful that games that only have local multiplayer can still be played online due to the magic of SharePlay. It's one of the console's most under utilized features, but it's also the coolest. If you haven't given it a try, check it out!
-
Instant Game Collection
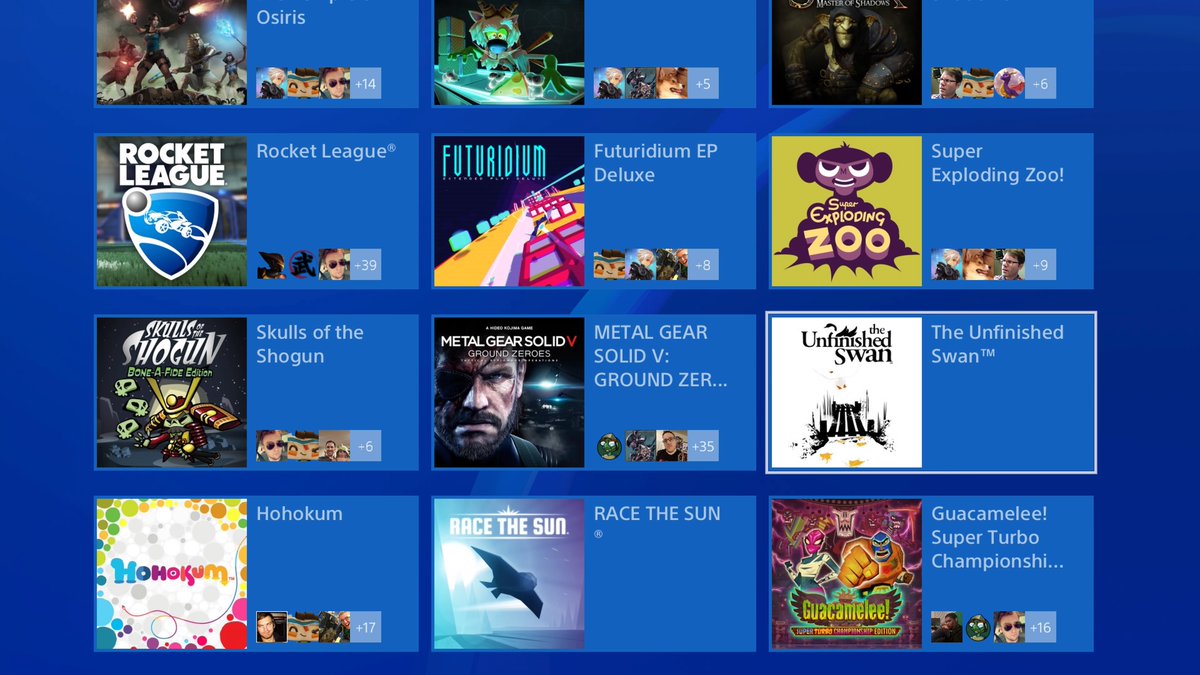
Be thankful that every month a bunch of good games become available as part as your PS+ subscription. It's the reason why millions are still playing Rocket League, and has introduced players to so many fantastic games over the past few years. The Instant Game Collection rules, and be glad it's still going strong.
-
Great Indie Games

Be thankful that gamers are getting a wider array of games than ever before due to the rise of indie games. Modern classics like INSIDE help keep players entertained between major releases, and now great games get released the entire year. There's no such thing as a gaming drought in 2016.
-
PS Store Sales
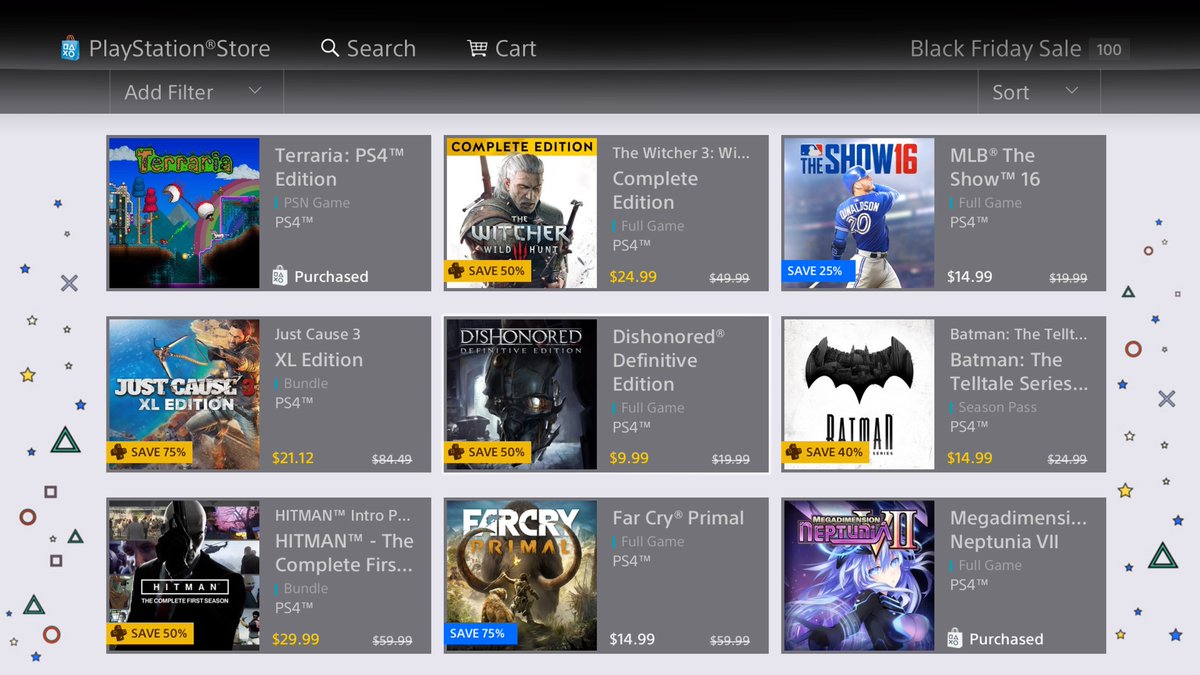
Be thankful for PSN sales that discount games a crazy amount. A consumer's dollar has never been worth more in gaming, as AAA titles can be purchased for just a few dollars in these sales. It may not be good for the industry long-term, but it's fantastic for consumers.
-
The Wait is Almost Over

After waiting a decade The Last Guardian and Final Fantasy XV are finally going to be playable. That's a pretty crazy idea, and even if both games end up being busts, people will finally get some closure. Either way, be thankful that both games made it through development hell and are going to be in store shelves in less than a month.
-
PS2 to PS4
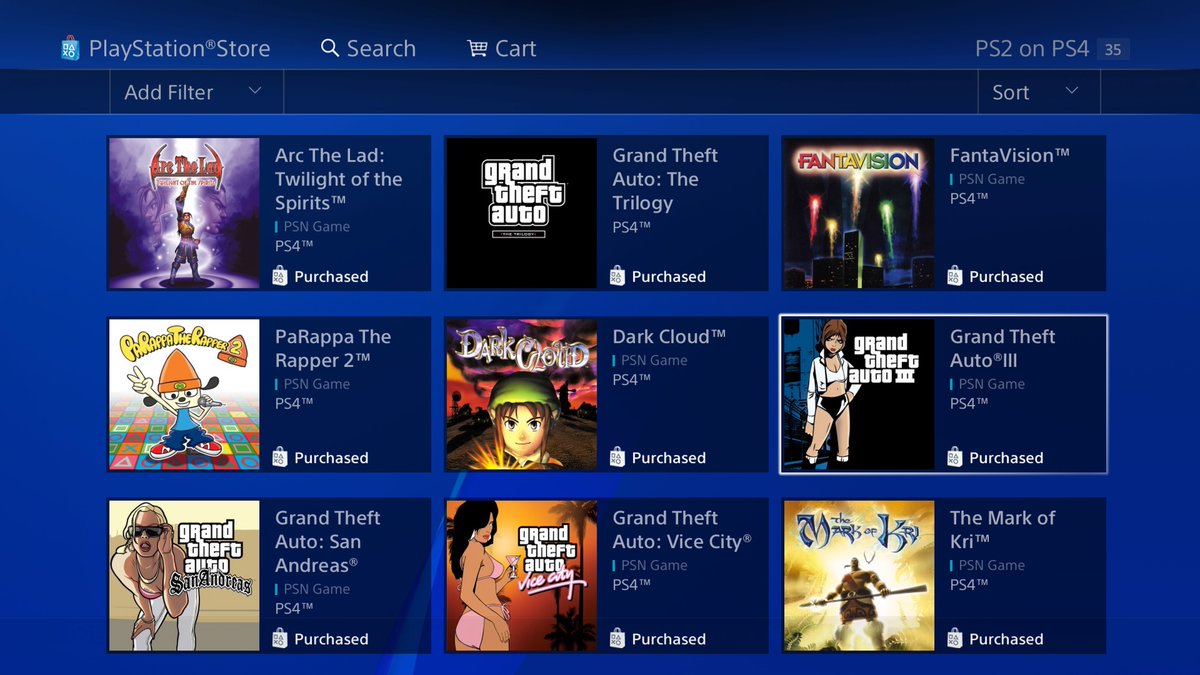
Be thankful that a whole new generation of gamers get to experience classic games for the first time. With PS2 games getting re-released on PSN, a fresh audience is getting to play games like Psychonauts and Grand Theft Auto: Vice City for the very first time. That's awesome, and gaming history should be preserved this way.
-
Region Free Gaming
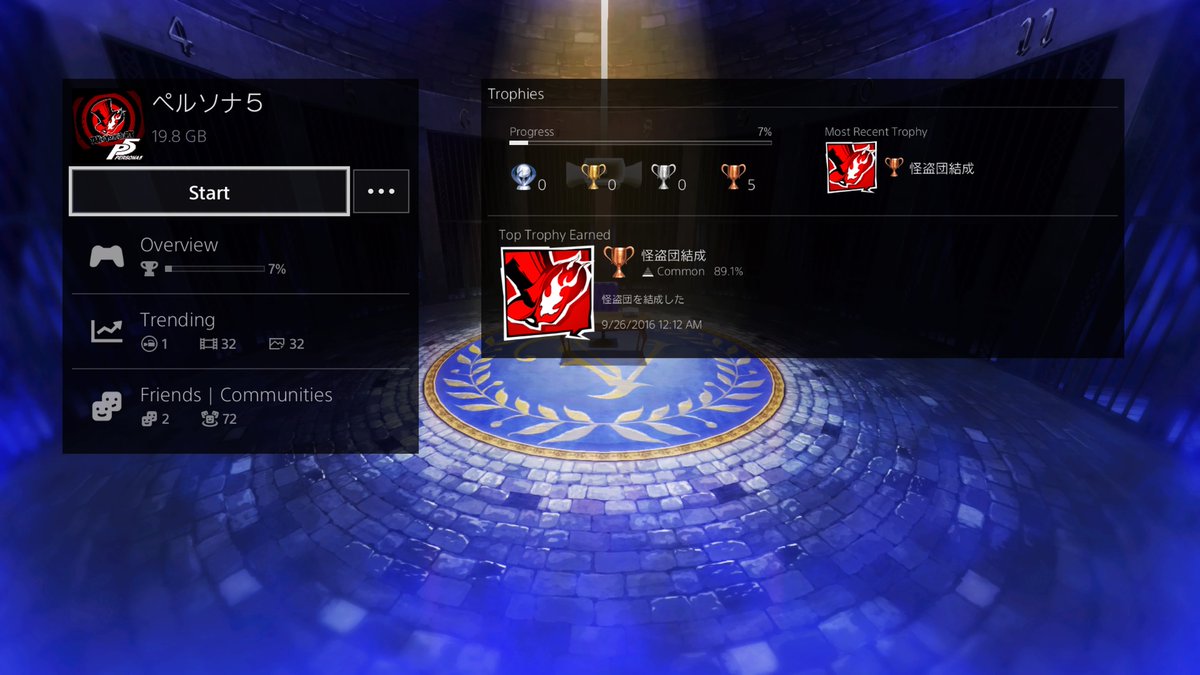
Be thankful that the PlayStation 4 is region free. Unlike on current Nintendo consoles, PS4 owners can play any game released on the system. From an import copy of Persona 5 to a physical release of Infamous: First Light from Europe, there's no barrier to enjoying the games you want. Plus, digital storefronts make it easier than ever (and so much quicker) to import.
-
Trophies
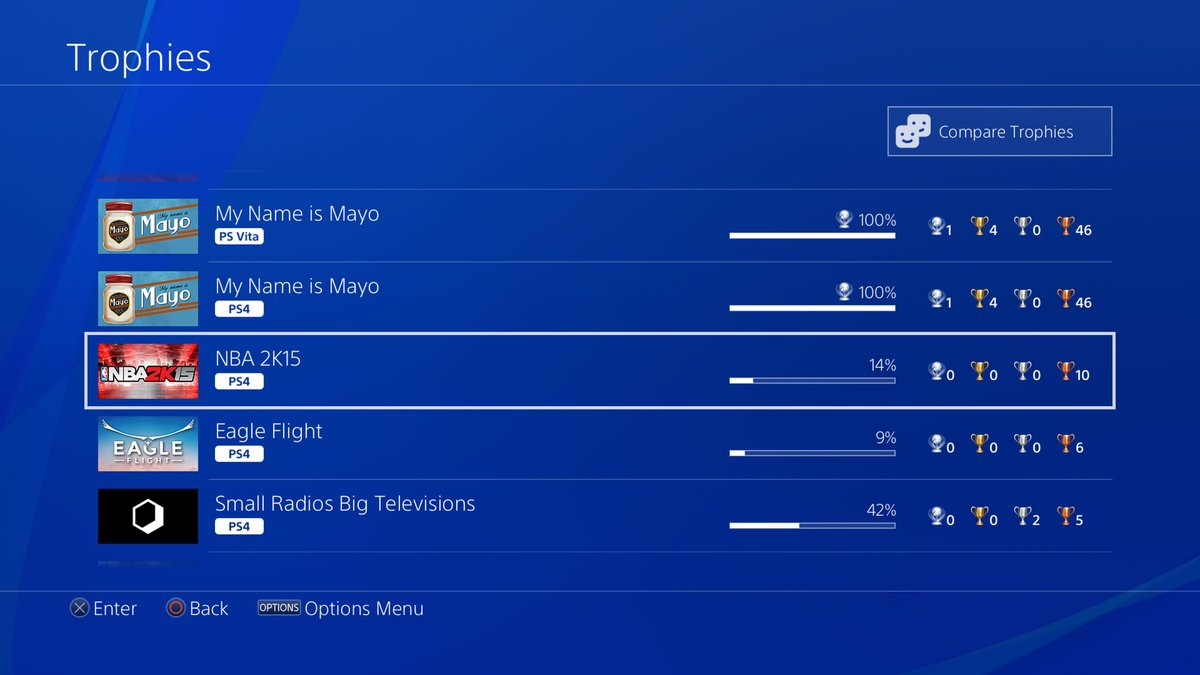
Be thankful that trophies exist, even if the digital trinkets might not have any real meaning. Trophies have given players reasons to play games in ways they never would have before, and Microsoft deserves a lot of praise for implementing achievements. They really helped at making gaming more fun, and collecting trophies is just plain fun.
-
Virtual Reality
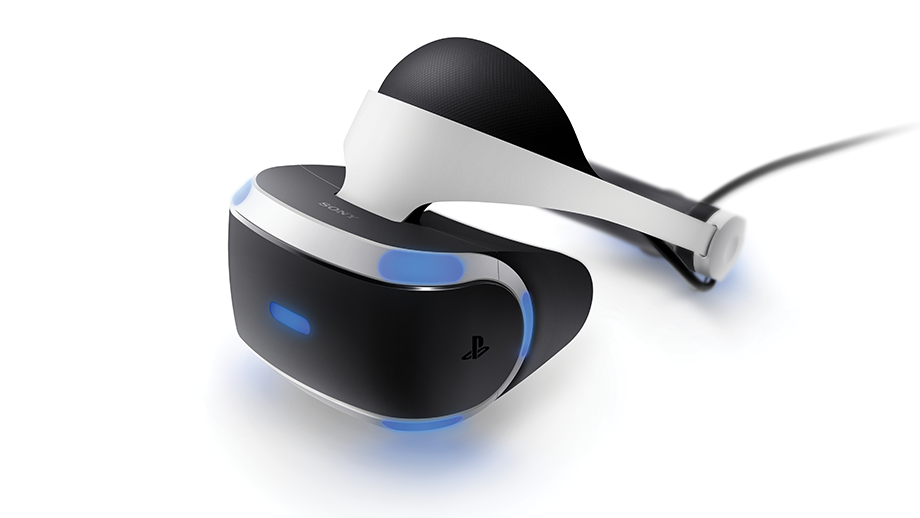
Be thankful that you get to watch virtual reality come into its own. The technology is still young and sometimes rough around the edges, but it's also why it's so exciting. We haven't seen the best that virtual reality has to offer, and it'll only get better as time goes on. That's incredibly exciting.
-
Game Developers
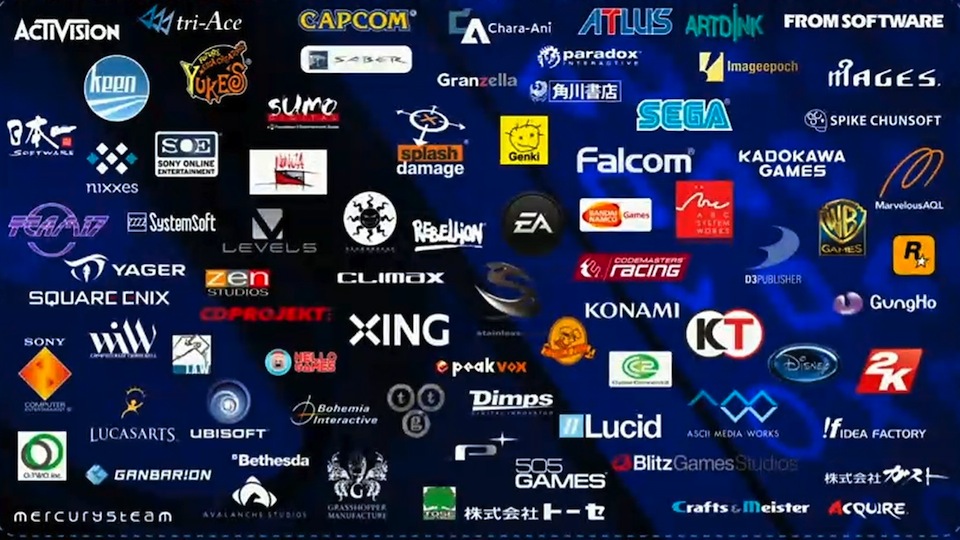
Most importantly, be thankful for the game developers that make this incredible form of entertainment possible. Without them this industry wouldn't exist, and a form of escape couldn't entertain millions. They are under appreciated, work crazy hours in order to finish a game, and deserve some gratefulness.
