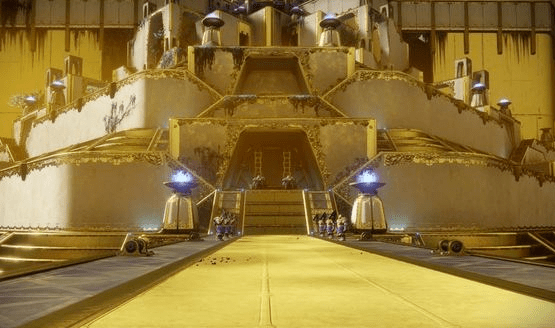
You’ve just loaded into Leviathan. You’re staring at the massive golden palace ahead of you and wondering how you’re ever going to conquer the challenges within. It’s a feeling many of us have felt in these first few days since the Raid launched, and we’re happy to bring you our Destiny 2 Leviathan Raid guide to help you and your fireteam complete the puzzles and earn some pretty sweet loot along the way. This is a guide strictly for completing the raid encounters and will not explore any of the Leviathan Raid secrets that Bungie has hidden away.
Navigate quickly to any part of this guide:
- Raid Intro and Need to Knows
- Castellum/Entry Hub Guide
- Royal Pools Guide
- Pleasure Gardens Guide
- The Gauntlet Guide
- Emperor Calus Guide
- Rewards/Raid Vendor
Note: Keep in mind that you may need to adjust strategies for your group. The strategies posted are how my fireteams have managed to complete each encounter, and they now seem to be widely accepted by the Destiny community. Communication with your group is the key.
Destiny 2 Leviathan Raid Guide – Before You Go
How Lives and Revives Work
For Destiny 2, when a player dies in a Raid, the fireteam will have 30 seconds to revive that player before it wipes everyone. Every person on the fireteam has a revive token that can be used once per encounter (wipes will reset the tokens). If the little circle in the bottom right corner of your screen is orange, you have a token available. If it is greyed out, another player will need to revive. Keep this in mind while working out who is going to revive any downed players. Most encounters can be salvaged after mistakes, but smart communication is required.
How Checkpoints Work
So you got all the way to Calus and called it quits for the night, only to jump back in the next day and find yourself back at the beginning? Don’t worry, you can still go straight to Calus. This Raid is non-linear, so it doesn’t checkpoint you at the encounters. You’ll need to complete the Castellum encounter each time (or take one of the secret paths in the underbelly), but you will not have to re-complete any of the main encounters you have already completed.
The Four Symbols
There are four symbols that frequently appear to help with the ease of communication between players. My team called these symbols Dog, Axes, Chalice, and Sun. Your team may choose to call them something different, but make sure to stay consistent throughout the Raid.
A Note on Communication
Communication is easily one of the most important parts of this Raid, and a place where a lot of groups are going to end up falling apart. Make sure to be clear and consistent with your communication. Know your role, and communicate about what the team is going to do before each encounter, so that every player can play their part in each encounter. If you need to adjust your roles or strategies to better fit your group, do whatever you feel will work best for you. This guide is intended to be just that: a guide. It will get you started and you can fit it to your own style.
Navigate quickly to any part of this guide:
- Raid Intro and Need to Knows
- Castellum/Entry Hub Guide
- Royal Pools Guide
- Pleasure Gardens Guide
- The Gauntlet Guide
- Emperor Calus Guide
- Rewards/Raid Vendor
Note: Keep in mind that you may need to adjust strategies for your group. The strategies posted are how my fireteams have managed to complete each encounter, and they now seem to be widely accepted by the Destiny community. Communication with your group is the key.


